Headboard Assembling Tips and Tricks
Headboard Assembling Tips and Tricks
Hey there! Are you ready to give your bedroom a fresh new look? Well, one of the key elements in transforming your sleep sanctuary is a stylish headboard. Whether you’re purchasing a brand-new one or assembling a DIY headboard, I’ve got your back! In this article, I’ll share some fantastic tips and tricks to help you assemble your headboard like a pro. Let’s dive right in!
Choosing the Right Headboard
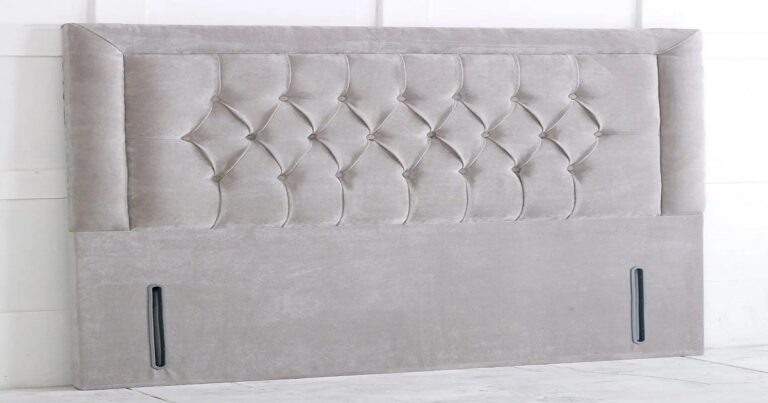
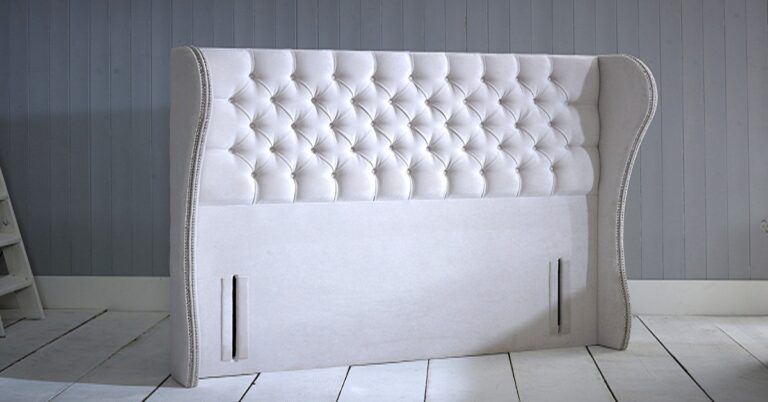
Before we get into the nitty-gritty of assembling your headboard, it’s essential to choose the right one for your bedroom. Headboards come in various styles, materials, and sizes, so take a moment to consider your personal preferences and the overall aesthetic of your space. Do you want a cozy fabric headboard or a sleek wooden one? Measure your bed and ensure the headboard will fit perfectly, both in width and height.
Tools and Materials, You’ll Need
To assemble your headboard smoothly, gather a few tools and materials beforehand. Here’s a handy checklist:
- Screwdriver or drill: Depending on the type of fasteners used, you’ll need a suitable tool for the job. A screwdriver or drill with the appropriate bits will come in handy.
- Screws and bolts: Check the instructions that come with your headboard to determine the required screw and bolt sizes. Make sure you have them on hand.
- Allen wrench: Some headboards may require an Allen wrench for tightening specific bolts or screws.
- Level: For a perfectly aligned headboard, a level will be your best friend.
- Protective gloves: If your headboard has any sharp edges or requires handling heavy materials, protective gloves can ensure your safety.

Step-by-Step Assembly Guide
Now that you’ve gathered your tools after reading Headboard Assembling Tips, let’s get into the step-by-step guide on how to assemble your headboard:
-
Read the Instructions
Before diving headfirst into the assembly process, take a moment to read the instructions thoroughly. Manufacturers often provide specific guidelines and tips to make the process easier. Familiarize yourself with the parts, hardware, and any additional tools required.
-
Prepare the Workspace
To ensure a smooth assembly process, prepare a clean and spacious workspace. Lay out all the parts and hardware in an organized manner, making them easily accessible. This will save you from rummaging around and potentially misplacing crucial components.
-
Start with the Frame
Begin by assembling the frame of your headboard. This may involve attaching side rails, support beams, or other structural elements. Follow the instructions carefully, aligning the pieces correctly and securing them with the provided screws or bolts. A second pair of hands can be helpful here, especially if the headboard is large or heavy.
-
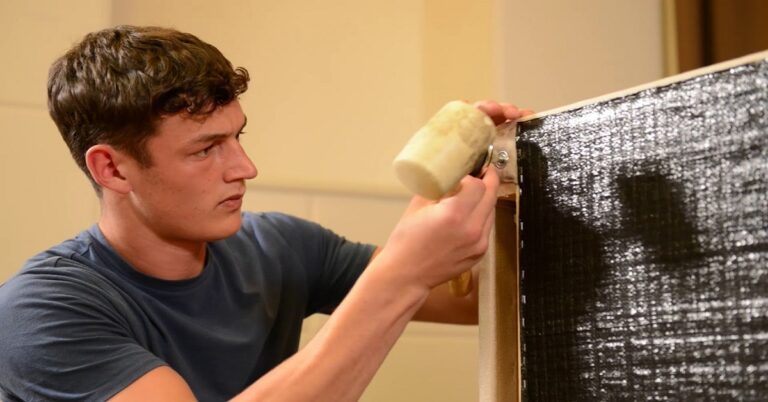
Attach the Headboard Panels
Once the frame is assembled, it’s time to attach the headboard panels. These panels can be made of different materials, such as wood, metal, or fabric. Align the panels with the frame and secure them using the appropriate fasteners. Take your time to ensure the panels are straight and flush with the frame for a polished look.
-
Tighten and Adjust
After attaching the headboard panels, double-check that all the screws and bolts are tightened securely. Using a level, ensure the headboard is straight and adjust it if necessary. A wonky or uneven headboard can be a real eyesore, so don’t rush this step!
Finishing Touches and Beyond
Congratulations! You’ve successfully assembled your headboard By implementing Headboard guide. Now, let’s discuss some finishing touches and additional tips to elevate the overall aesthetic:
Mounting the Headboards
Depending on the design of your headboard, you may need to mount it to the bed frame or directly to the wall. Refer to the instructions to determine the appropriate method for your specific headboard. If mounting to the wall, use sturdy anchors or screws to ensure stability. For bed frame attachment, follow the provided guidelines to secure the headboard in place.
Securing Loose Ends
After mounting your headboard, take a moment to check for any loose ends or wobbly components. Tighten any screws or bolts that may have become slightly loose during the assembly process. This will help maintain the integrity and stability of your headboard over time.

Conclusion
And there you have it – a comprehensive guide to assembling your headboard like a pro! By following these Headboard Assembling Tips and tricks, you can confidently tackle the task and transform your bedroom into a cozy haven. Remember to choose the right headboard, gather the necessary tools, and follow the step-by-step instructions provided by the manufacturer. Once assembled, don’t forget to add your personal touch through styling and maintenance. Enjoy your newly assembled headboard and the refreshed look it brings to your sleep sanctuary!
Now you have all the knowledge and confidence to embark on your headboard assembly adventure. So go ahead, unleash your inner DIY enthusiast, and create the bedroom of your dreams!
checkout Bedrush Headboards Collections